How to Create a Role
In a Role-Based Access Control (RBAC) system, a role is a set of permissions that define a user's access level within the system. Instead of assigning permissions directly to individual users, roles are created based on job functions, responsibilities, or titles. Users are then assigned to these roles, inheriting the associated permissions.
Benefits of RBAC
- Simplified Permission Management: Roles allow centralized management of user permissions.
- Enhanced Security: Minimizes unauthorized access risks by restricting permissions based on user roles.
- Efficient User Management: Assigning roles instead of individual permissions makes managing large teams easier.
Default Roles in DevPortal
DevPortal ships three built-in roles defined in rbac-policy.csv:
| Role | Access level |
|---|---|
role:default/admin | Full access — read, create, update, delete across catalog, scaffolder, and policy management |
role:default/developer | Read/create/update access — no delete on catalog entities or tasks |
role:default/viewer | Read-only access to catalog and scaffolder templates |
Default group and user assignments (also in rbac-policy.csv):
group:default/admins→role:default/admingroup:default/backstage-admins→role:default/admingroup:default/developers→role:default/developeruser:default/admin→role:default/admin
The distro image (veecode/devportal) also appends rbac-policy-extensions.csv at build time, adding Extensions Marketplace permissions (extensions.plugin.configuration.read/write) to the default roles. See the Permissions reference for the full list.
RBAC is enabled by default (permission.enabled: true in app-config.yaml). To extend or override policies, mount a custom rbac-policy.csv or configure additional policies via the RBAC Admin UI under Administration.
Steps to Create a Role in DevPortal
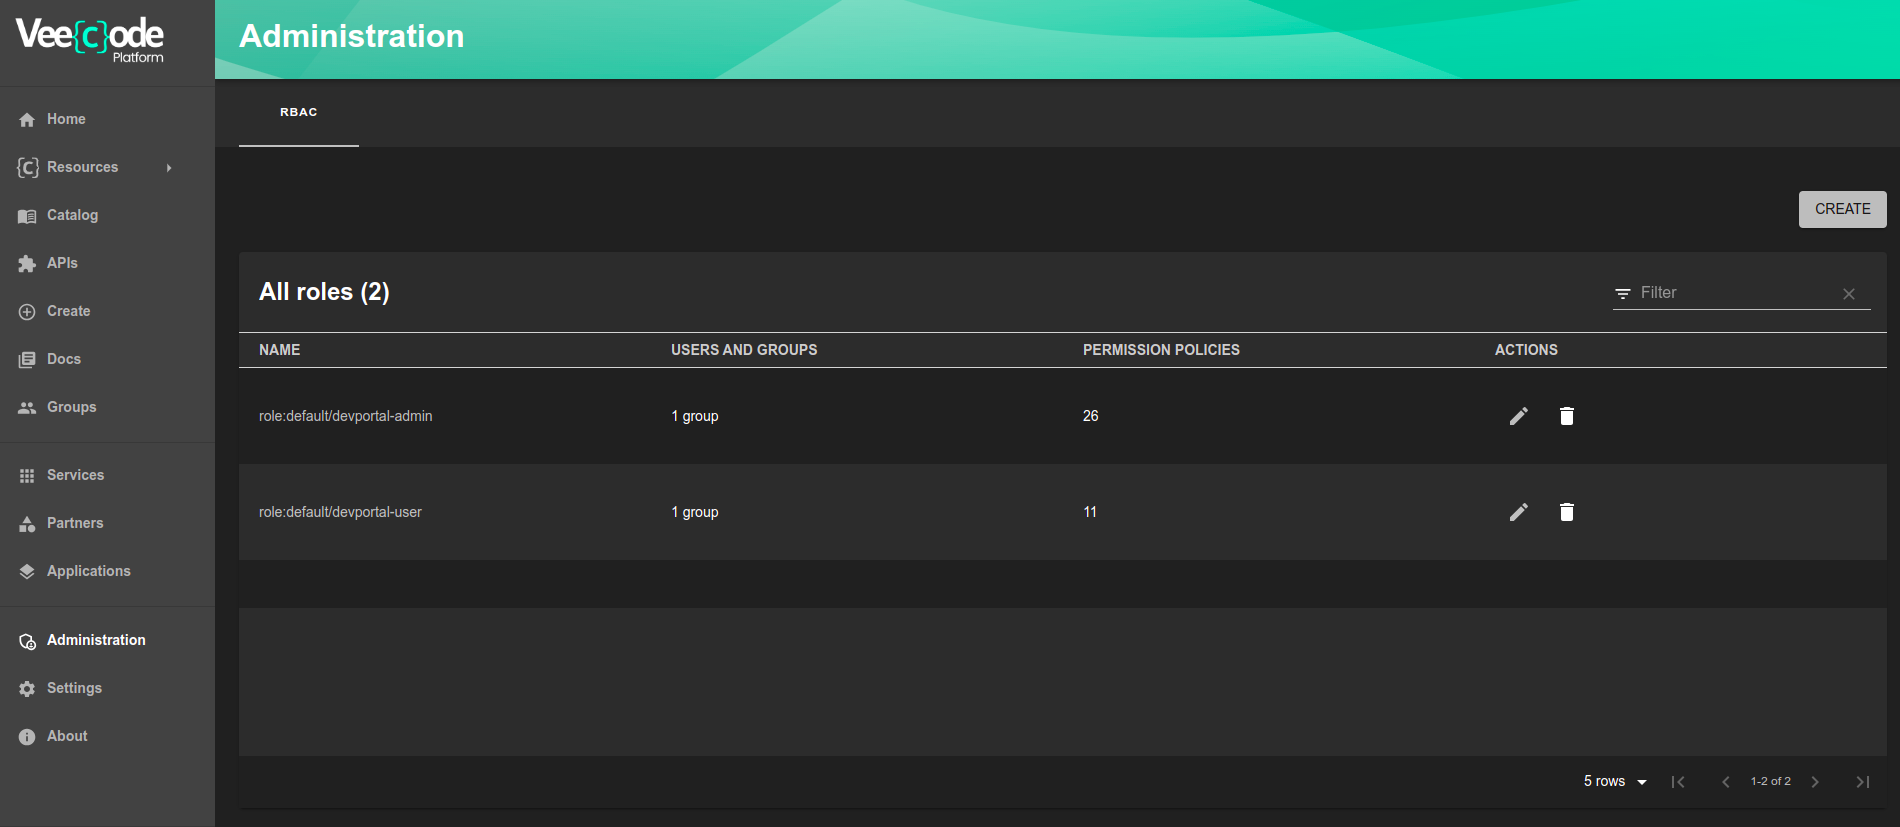
Step 1: Access RBAC Administration
- Log in to your DevPortal account.
- Click on the Administration menu to open the RBAC settings.
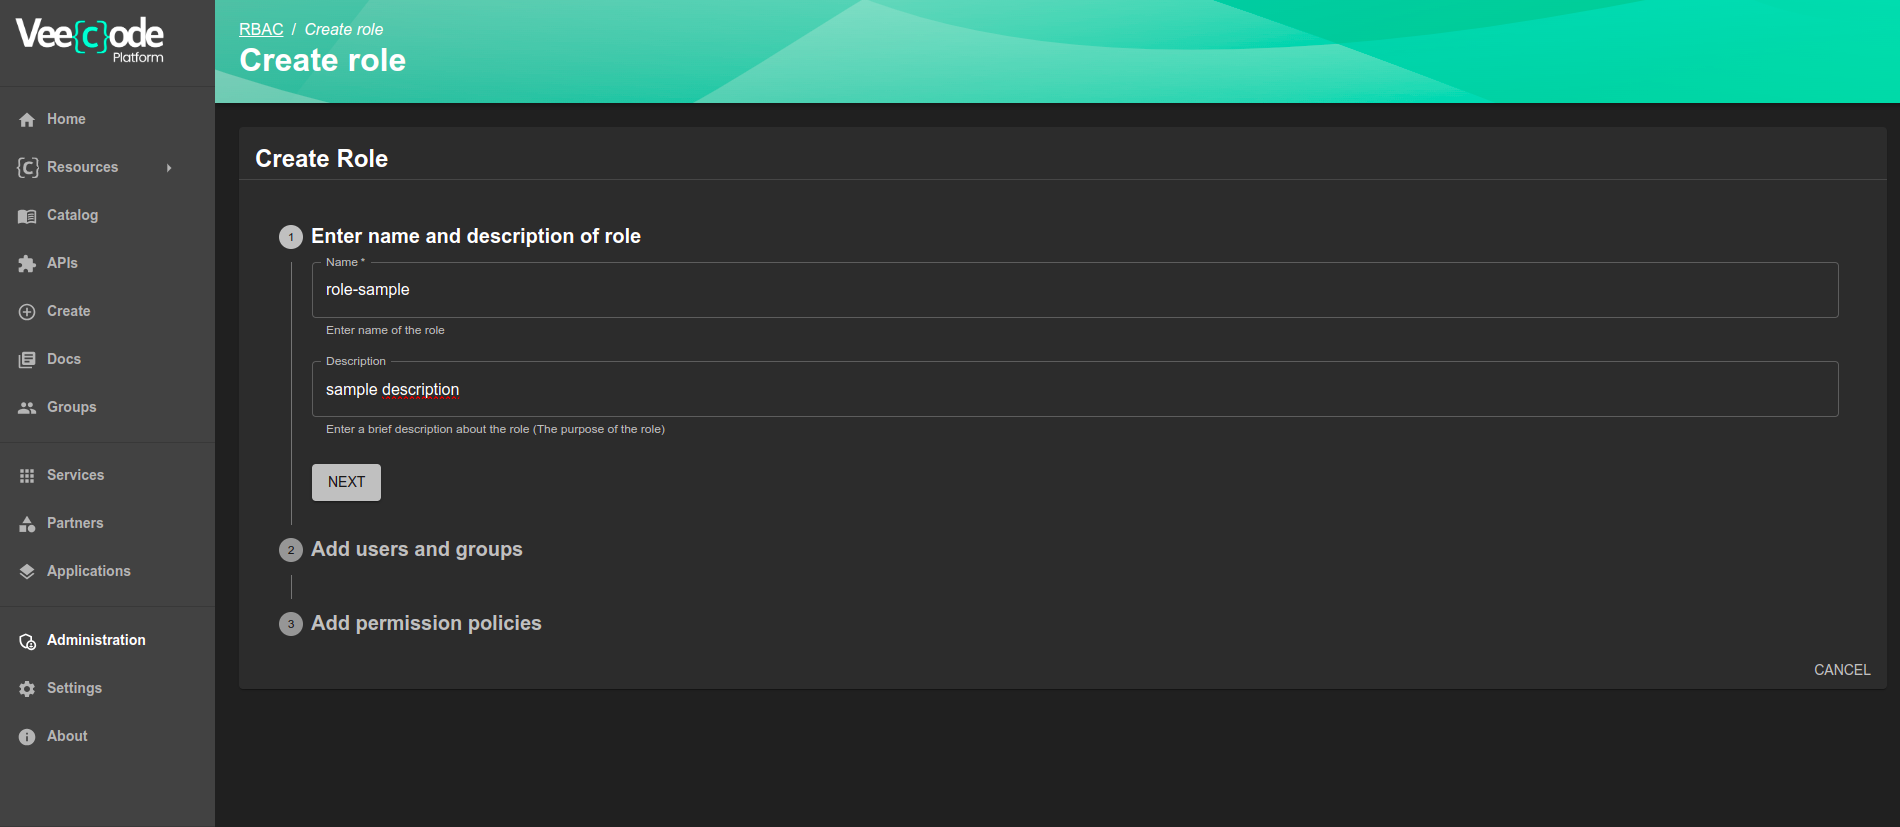
Step 2: Create a New Role
- Click on the Create button.
- Fill in the Name and Description fields to identify the role.
- Click on Next to proceed.
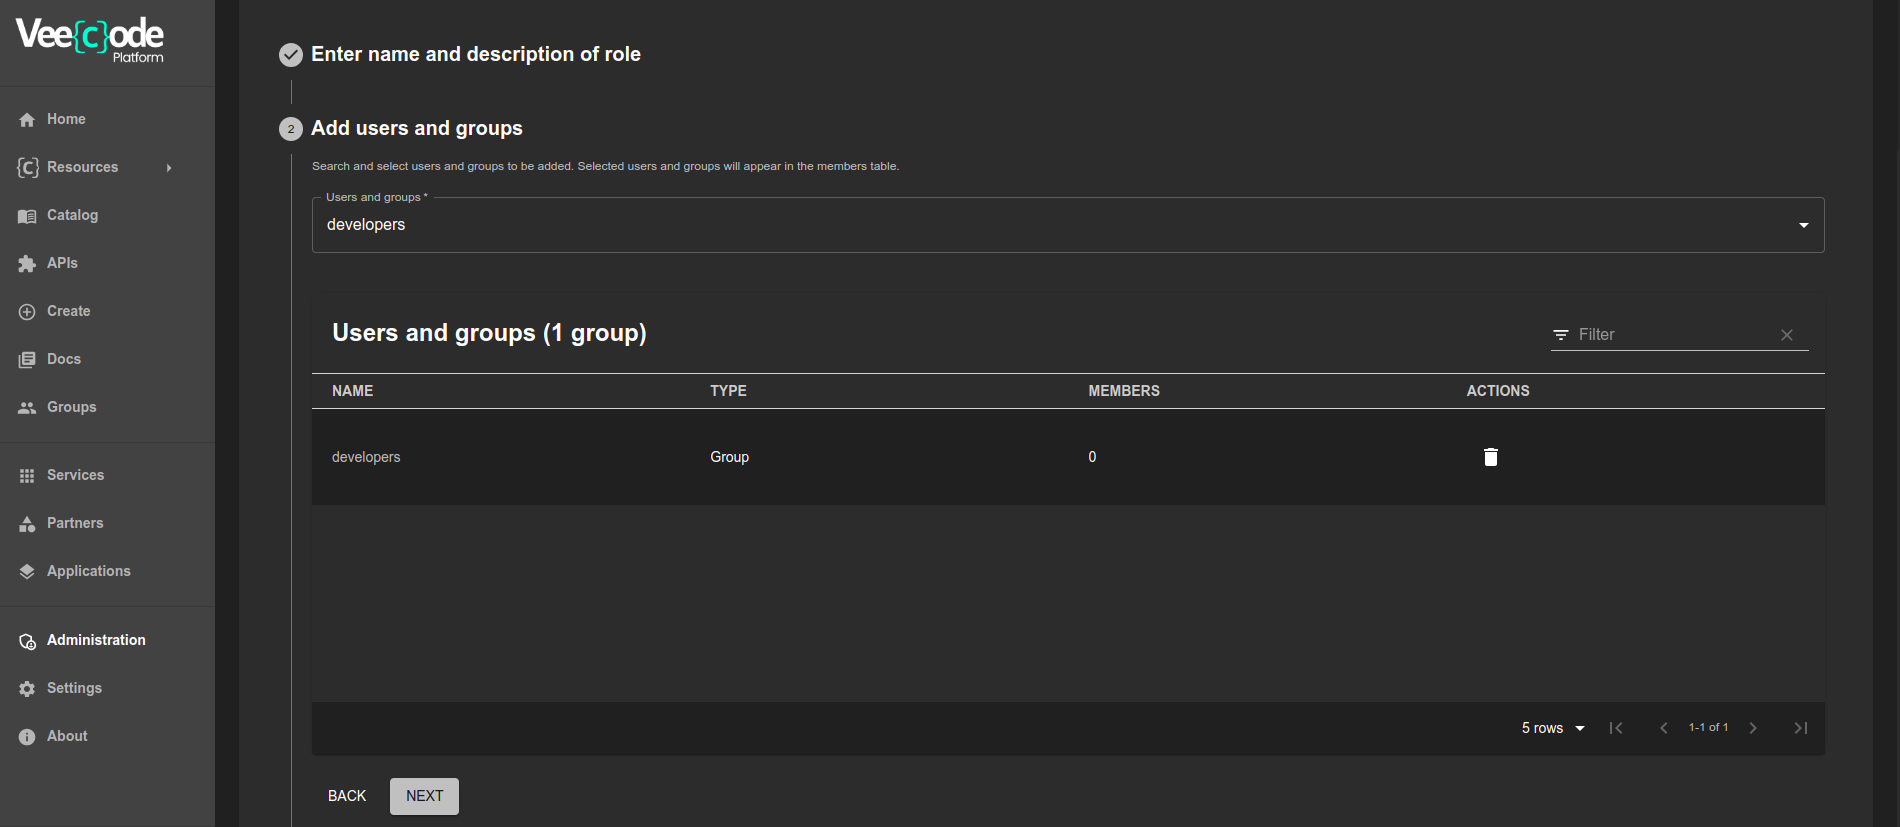
Step 3: Assign Users or Groups
- Select the groups or users you want to assign to the role.
- Click on Next to continue.
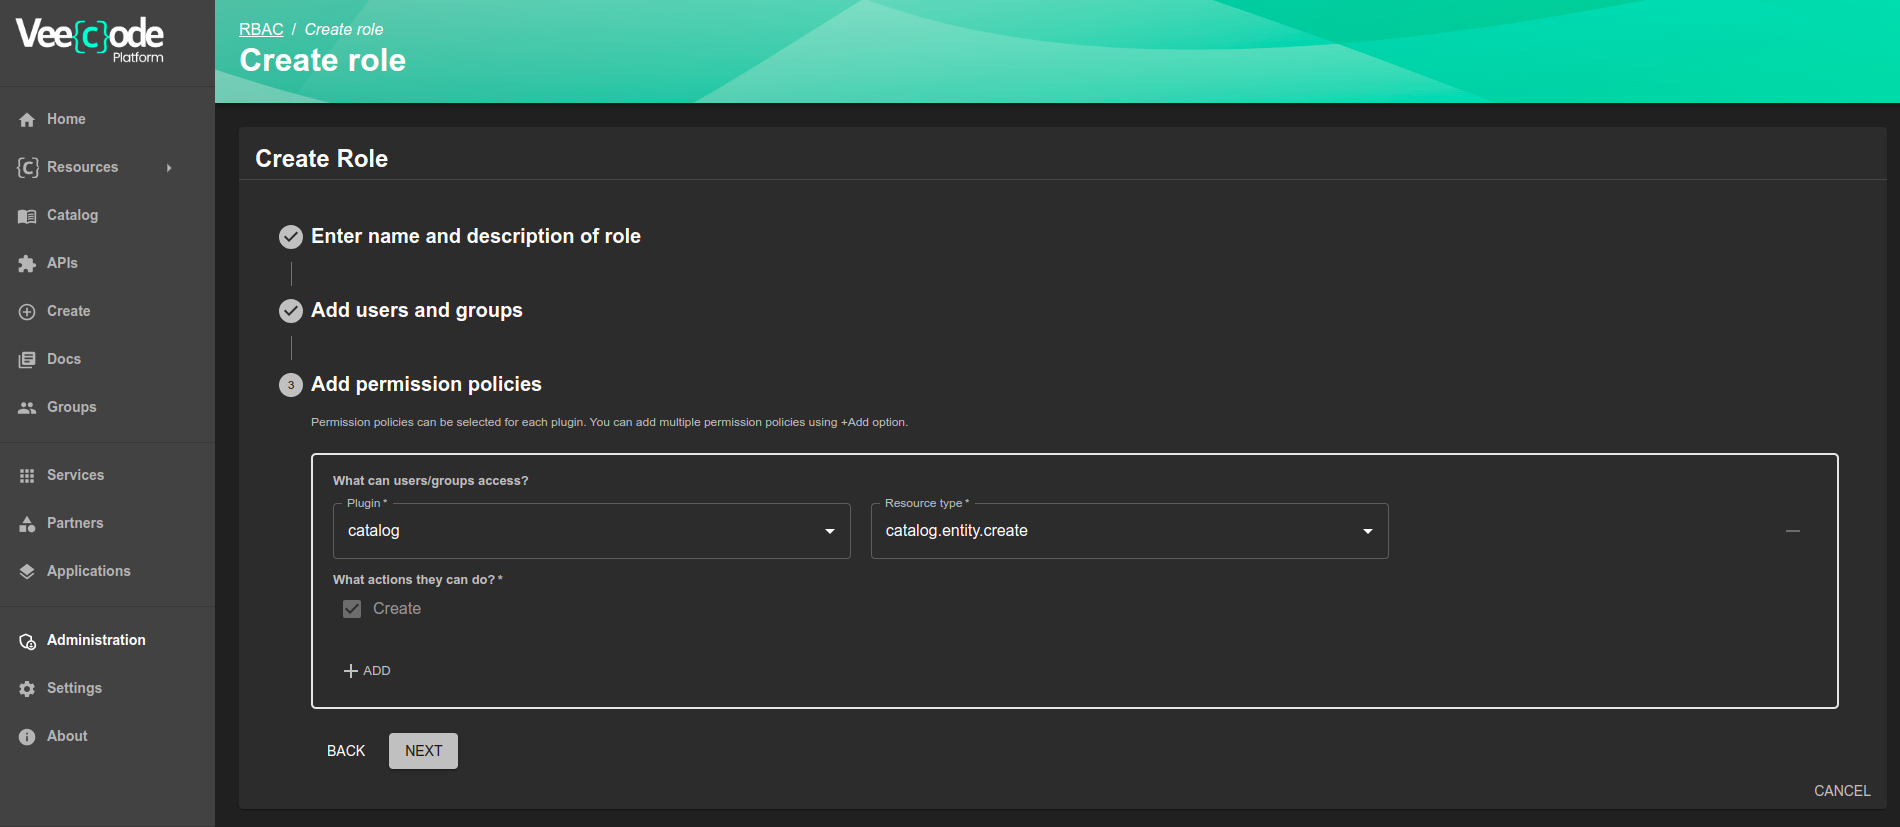
Step 4: Set Role Permissions
- Choose the permissions that should be assigned to the role.
- Click on Next to move forward.
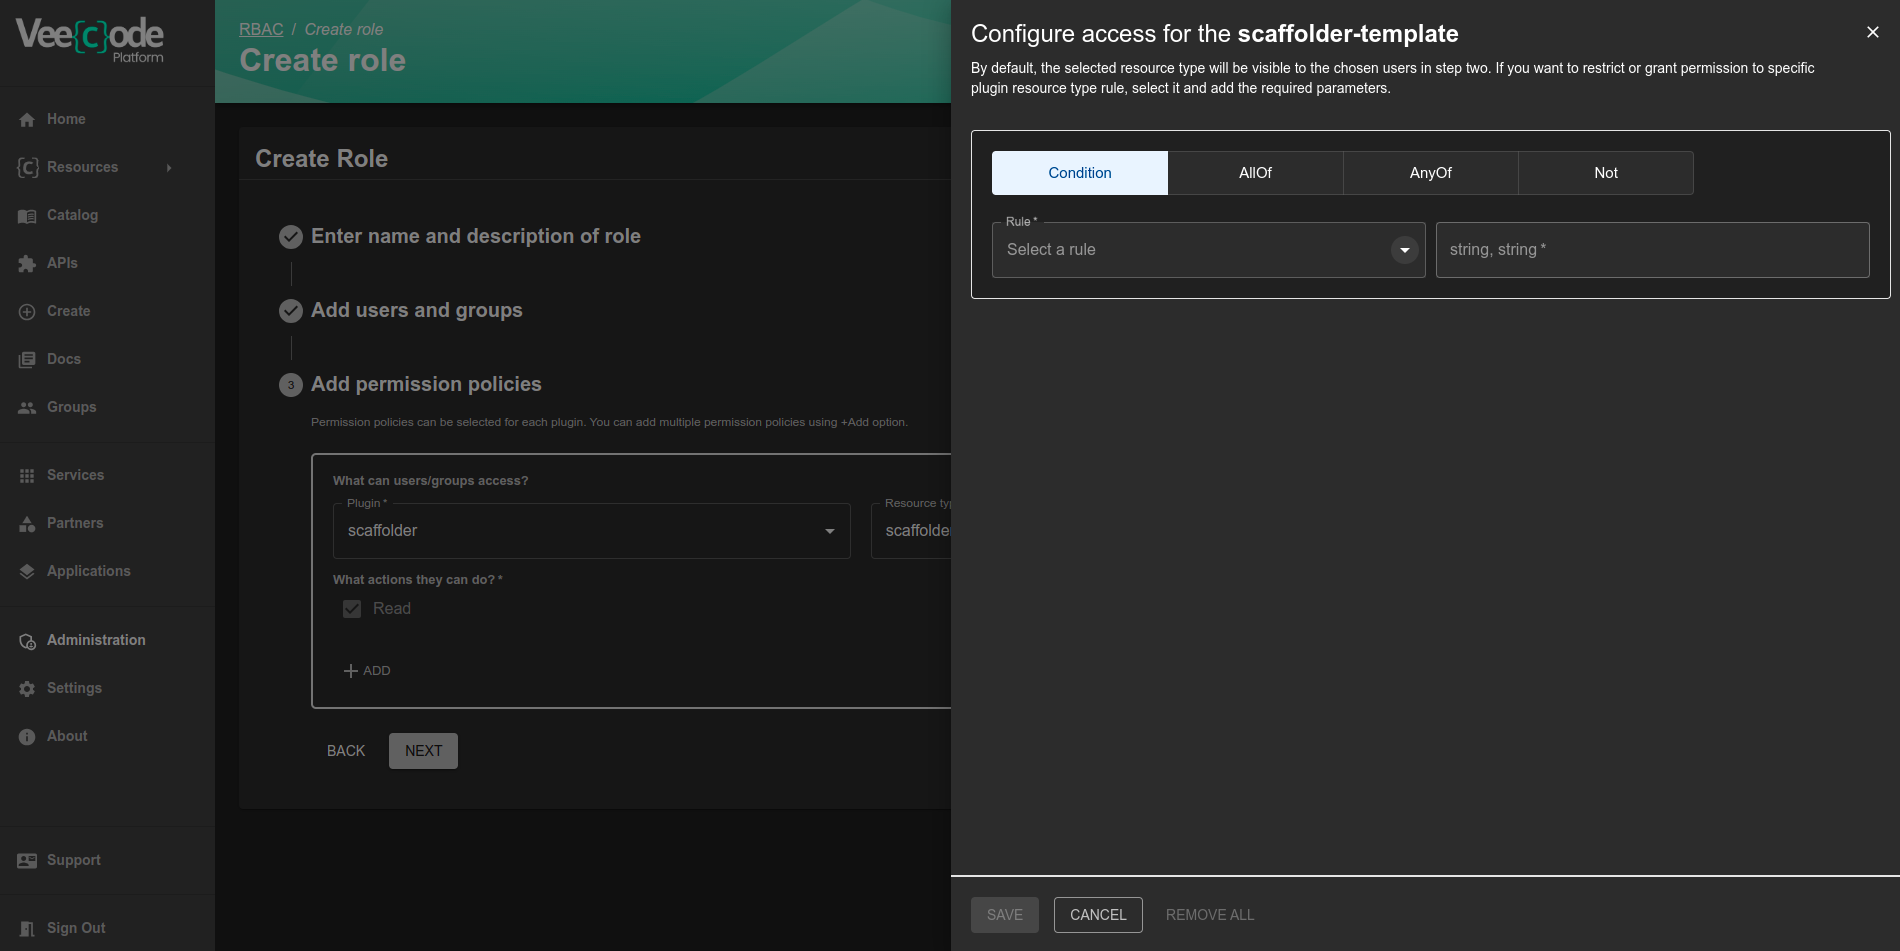
Step 5: (Optional) Define Role Conditions
- Use conditions to restrict the role to specific resources if needed.
- Click on Next to proceed.
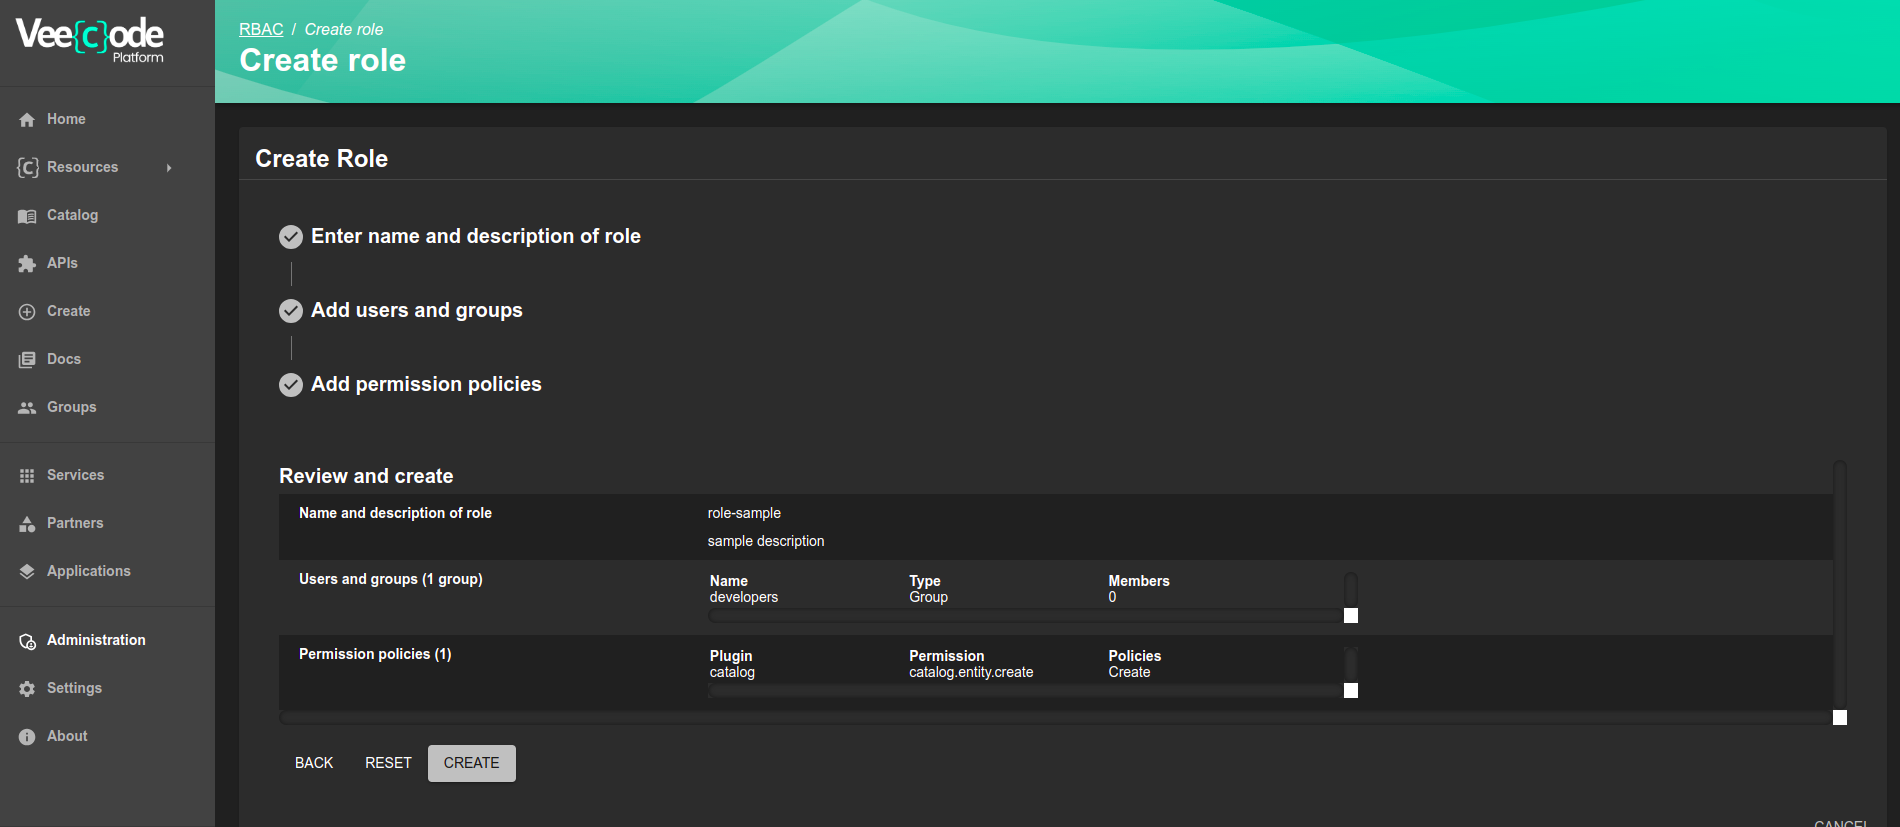
Step 6: Review and Confirm
- Review all role settings to ensure accuracy.
- Click on Create to finalize the role creation.
By following these steps, you can efficiently create and manage roles in DevPortal, ensuring secure and structured access control. If you need further assistance, contact the DevPortal support team.
When adding a custom plugin that registers its own permissions, you must also add the plugin ID to permission.rbac.pluginsWithPermission in your app-config.yaml (or equivalent layer) for those permissions to be evaluated by the RBAC engine. The distro's app-config.distro.yaml pre-registers the extensions plugin for this purpose.