Auth
How to Set Up Keycloak
This guide will assist you in setting up Keycloak as an authentication provider in DevPortal. Follow the steps below for a successful configuration.
Steps
Step 1: Access Keycloak Settings
- Open Admin UI: Access the Admin UI of your DevPortal.
- Navigate to Keycloak Settings:
- Click on "Go to settings" in the menu.
- Select “Auth” and then choose "Keycloak" from the sidebar menu.
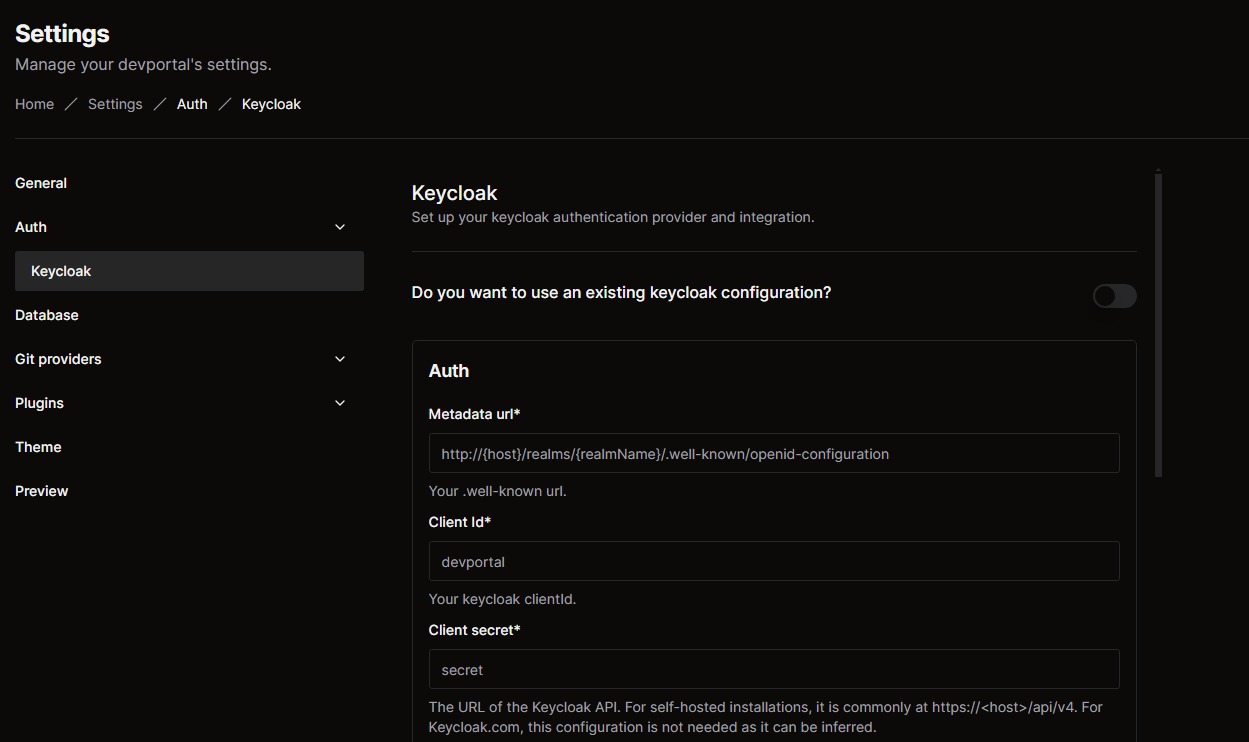
Step 2: Fill in Keycloak Details
- Enter Keycloak Configuration:
- Complete the fields with the required data based on your Keycloak setup. The table below describes each field:
| Field | Description |
|---|---|
| Metadata URL | The well-known URL of your Keycloak instance. |
| Client ID | The Keycloak clientId for authentication. |
| Client Secret | The URL of the Keycloak API (not needed for Keycloak.com). |
| Host | The location of your Keycloak server (omit /auth in newer versions). |
| Realm | The Realm to synchronize with. |
| Login Realm | The Realm used for authentication. |
| Username | The username to authenticate. |
| Password | The password to authenticate. |
| Frequency | Time (in minutes) to refresh the catalog. |
| Timeout | Time (in minutes) to timeout after a refresh request. |
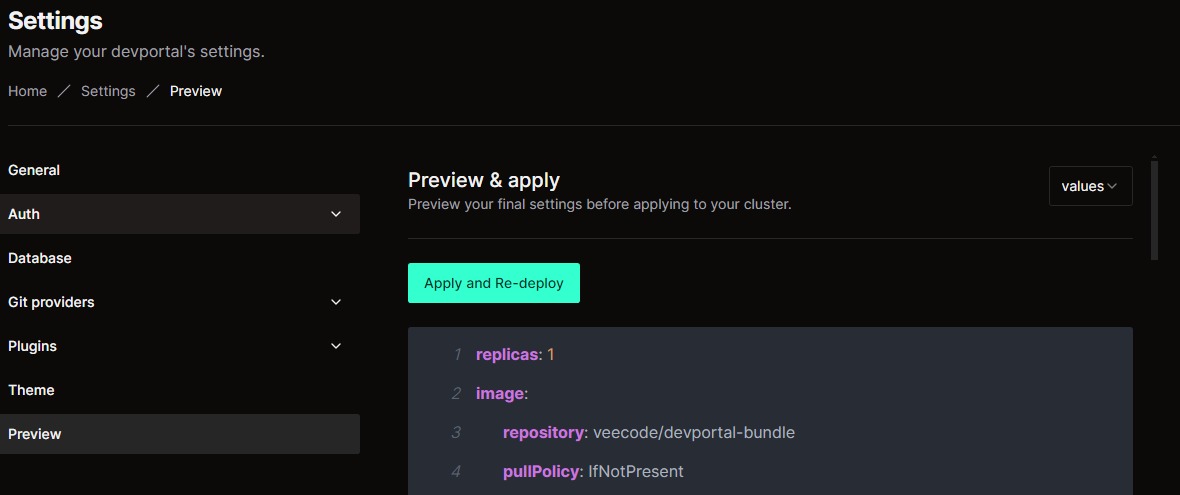
Step 3: Preview the Configuration
- Once you've entered all the necessary information, click on “Preview” in the left-hand menu to review the configurations.

Step 4: Apply and Redeploy
- Verify and Deploy:
- On the Preview page, verify the information.
- Click “Apply and Re-deploy” to apply the new Keycloak settings and redeploy the application.
Additional Information
- Configuring DevPortal in Keycloak:
- If you already have a Keycloak setup, you’ll need to add a DevPortal client to your Keycloak Realm.
- Reference the client ID and client secret in the Admin UI to ensure proper authentication for DevPortal.
Creating a Realm
- In Keycloak, a Realm is a logical grouping of users, credentials, profiles, and groups. Realms are isolated from one another, meaning you can only manage users within the specific Realm where they belong.