Theme
How to Customize Your DevPortal Theme
This tutorial will guide you through the steps to personalize your DevPortal using the Admin-UI, including changing the logo and modifying the appearance of the sidebar.
Steps
Step 1: Access Theme Settings
- Open Admin UI: Access the Admin UI of your DevPortal.
- Navigate to Theme Settings:
- Click on "Go to Settings" in the menu.
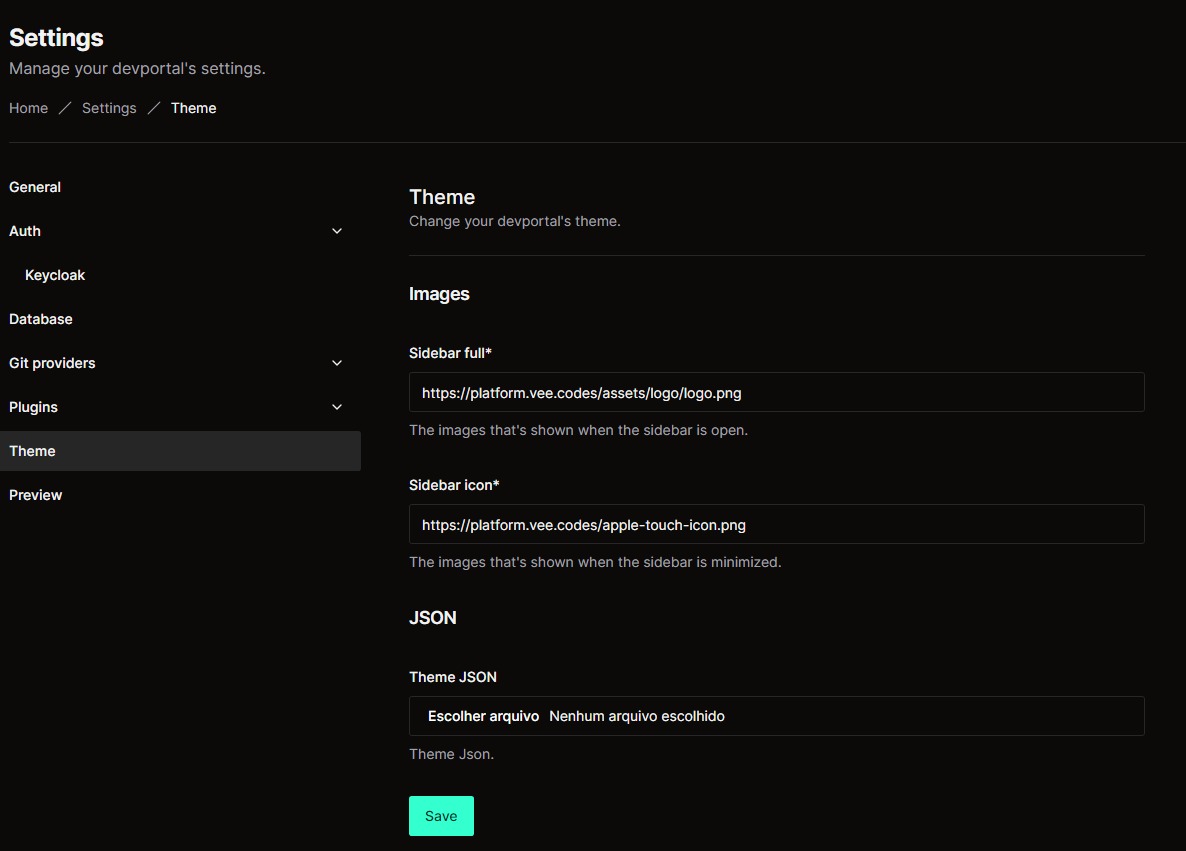
- Select "Theme" from the sidebar.
Step 2: Customize the Platform
In the Theme menu, you have several options for personalizing your platform, including changing the logo and modifying the sidebar’s appearance.
- Changing the Sidebar Icon:
- Replace the default platform icon with an image of your choice. This icon will appear in shortcuts and the taskbar when the sidebar is minimized.
- Customizing the Full Sidebar:
- The sidebar is the main lateral area of the application. You can change the image or the style of this area to better fit your preferences.
- Advanced Customization:
- If you have experience with editing configuration files, you can further personalize the platform by directly adjusting the configuration file. This allows for more advanced customization options.

- If you have experience with editing configuration files, you can further personalize the platform by directly adjusting the configuration file. This allows for more advanced customization options.
Step 3: Fill Out the Fields for Customization
Use the table below to understand the required formats and sizes for your custom images:
| Field | Description | Format | Size |
|---|---|---|---|
| Sidebar Full | Image shown when the sidebar is open | png/jpeg... | 852x265 |
| Sidebar Icon | Image shown when the sidebar is minimized | png/jpeg... | 180x180 |
Step 4: Preview the Configuration
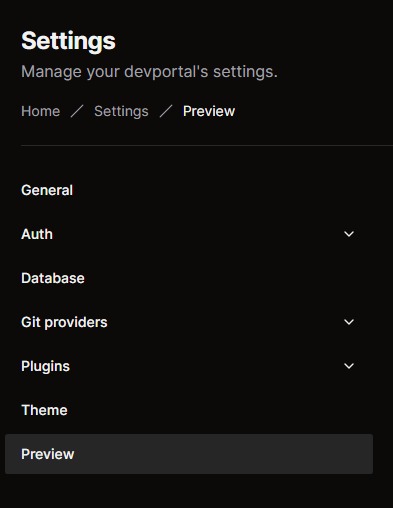
- After inputting the necessary information, click on “Preview” in the left-hand menu to review your customizations.

Step 5: Apply and Re-deploy
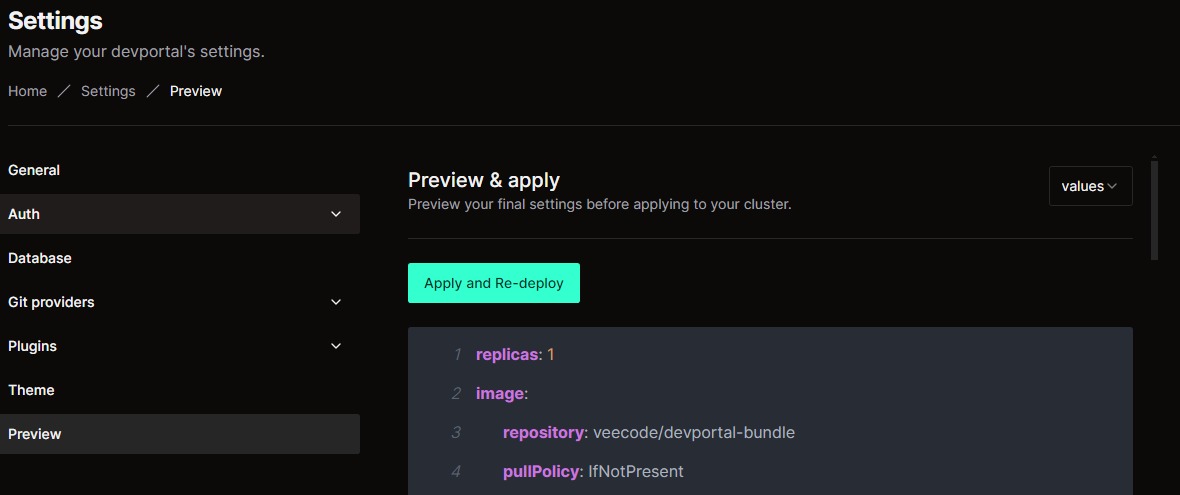
- On the Preview page, verify the details.
- Click on “Apply and Re-deploy” to save the changes and re-launch the application with the updated theme.
